
After one google search of "Light Tables" it was apparent that there are dozens of tutorials on how to make one. After reading several, I had the basic premise for what I needed to do. It seemed to me that several of them were doing excessive steps, so this is my brief recap of what I did and the corners I cut.

I picked up two flat totes for $5 each at Walmart, as well as some metallic spray paint ($3.50) and a fluorescent light that is intended for going under kitchen cabines ($10). I will admit, I was not thinking things through when I purchased the totes I did. I should have spent the extra $2 and purchased the totes with clear lids so they would stack better, but I didn't like the handles...Anyway....I made do with what I bought, and just flipped the tote upside down.

Next, I covered the bottom of one tote with a trash bag and tape (I only painted one tote, the second tote is for containing the toys on top of the lighted tote).

Painted 2-3 coats of metallic silver on the inside of the tote, and the lid. I did two real coats, and then just touched up spots I missed.
Next I removed the bag, and painted a very light layer (dusting might be a good word) on the bottom of the lid. I just wanted to give it enough so it wasn't clear because it wouldn't diffuse the light well. I had read about others buying a can frost paint, but I wasn't going to spend extra money on the paint. Some other people also lined the bottom with tracing paper. I thought this was easier.
I used epoxy to glue my light diagonally across the lid and let it sit for at least 20 minutes (my light just barely fit diagonally on the lid).

Lastly I drilled a small hole for the light cord, and that's it.
The tote I painted sits upside down, and the unpainted tote on top. Then I gave O various transparent items to play with in it.
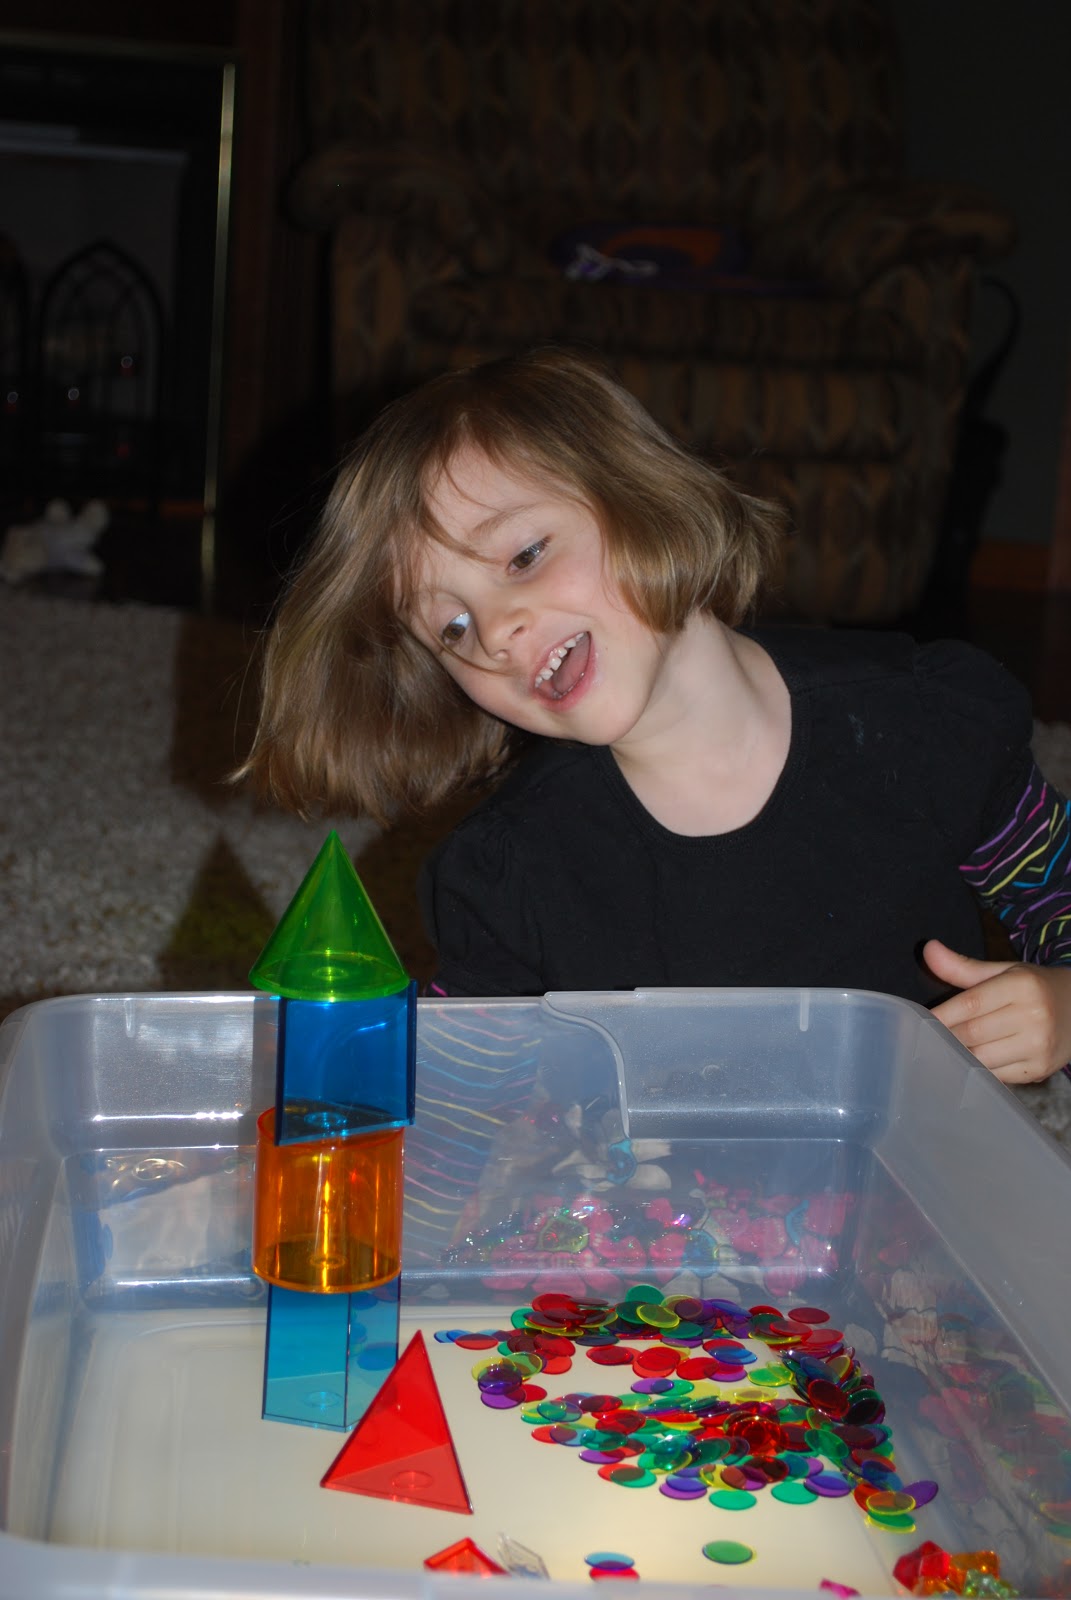


Along with the dozens of tutorials on how to make a light table there are lots of fun ideas for what to do with the light table. I see finger paint in our near future :-)
No comments:
Post a Comment
Thanks for your comments!